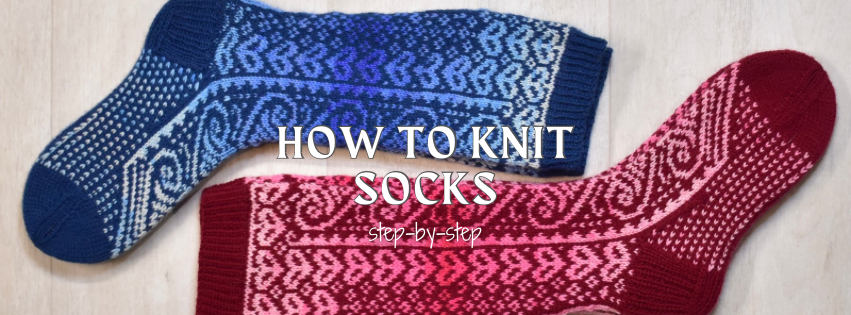
How To Knit A Sock
Share
So you want to know how to knit a sock.
Recently I made a post about the basics of knitting a sock. The instructions were very simple, because it was more of a cheat sheet than an in-depth pattern. Here I'm going to provide you with a more robust, step-by-step explanation for knitting a basic sock cuff down.
I've also written a series of blog posts called Sock School that goes into even more detail. You can find Lesson 1 here.
This pattern has been written based on a 52-stitch cast on. With Aran weight yarn that will make an EU size 42 sock (US Women's 11/US Men's 9), and with a DK weight yarn that will make an EU size 34 sock (US kids' 2.5).
Cuff
Here we go! This is the beginning of your sock.
- Cast on 52 stitches. My preferred cast on for socks is the German Twisted Cast On.
- Join in the round. I like to cast on an extra stitch and use the first stitch as an anchor. See how here.
- You can divide the stitches onto 4 double-pointed needles (13 stitches per needle), or you can use 2 Addi FlexiFlip Needles or a circular needle using the Magic Loop method.
- Knit in the round using a ribbing of your choice until you have a cuff of the desired height
Reinforced Heel
The heel is going to get the most wear and tear in a sock, so using a reinforced stitch pattern gives it extra strength to stand up to that.
- Starting from the beginning of the round, knit 13 stitches. Leave the remaining stitches to wait, and turn your work. If using DPNs, this is all the stitches on the first needle.
- *Slip 1 purl-wise, purl 1*. Continue *-* for a total of 26 stitches. Leave the remaining stitches to wait, and turn your work. If using DPNs, this is the stitches on the first and fourth needles.
- Slip 1 purlwise, knit to the end of the row.
- Repeat rows 2 and 3 for the heel until you have completed 26 rows and have last purled a row. Slip the first stitch of each odd row. *Many sock patterns call to slip the stitches on the right side (knit) row, and purl all the stitches on wrong side row. I prefer to slip the purls, because then I have purl fewer stitches.
- Continuing the same reinforced pattern, knit 8 + 9 stitches. There will be 9 stitches remaining on the needle
- Decrease 1 stitch with a SSK or SKPSSO. This is the 10th stitch in the middle section. Turn your work
- Alternate slipping & purling 9 stitches. Decrease 1 stitch with a P2TOG. This is the 10th stitch in the middle section. Turn your work.
- Repeat steps 5 - 7 by working 9 stitches + a decrease until the side stitches are gone. This keeps 10 stitches in the middle, while reducing the stitches on the sides.
- Knit 5 stitches to bring the yarn to the middle of the heel, which is the beginning of the round.
Picking Up the Sides
At this point you'll have a stretch of fabric between your live stitches. The stitches on the edges of this stretch need to be picked up so that you'll have a full circle to knit again.
- Knit 5 stitches, and pick up 13 + 1 stitches from the side of the heel (These are the slipped stitches at the beginning of each row + 1 extra). Knit the picked up stitches through the back loop. If you are not using 4 needles, place a marker here.
- Knit the first 13 stitches that have been waiting while you created the heel. With 4 DPNs this is the end of the second needle. If you are not using 4 needles, this is where you switch needles.
- Knit the other 13 stitches that have been waiting. With 4 DPNs this is the end of the third needle. If you are not using 4 needles, place a marker here.
- Pick up 13 + 1 stitches from the side of the heel (These are the slipped stitches at the beginning of each row + 1 extra) and knit them through the back loop. Knit 5 stitches to the beginning of the round.
Gusset
You will now have more than 52 stitches, on the needles. The gusset decreases will reduce the stitch count, so that the foot of the sock isn't too loose.
- Knit to 2 stitches before the end of the 1st needle (or your stitch marker). Decrease with knit two together.
- Knit 26 stitches to the end of the 3rd needle (or your stitch marker). Decrease at the beginning of the 4th needle with a SSK or SKPSSO. Knit to the end of the round
- Continue knitting and repeat the decreases in steps 1 and 2 every other round until you are back to 52 stitches (13 per needle with 4 DPNs).
- Continue knitting in the round until the foot measures 22 cm with Aran yarn or 17 cm with DK yarn (or covers the pinky toe if you have the foot available)
I've made a video for YouTube that shows all the steps for the heel and the gusset decreases. Hopefully combined with the above instructions it is helpful.
The Toe
My favorite type of toe is a rounded toe. It's easy to remember, and fits most feet. The basic math is to make two decreases on each needle, then knit as many rounds without decreases as there are stitches between the decreases. Because there are 13 stitches on each needle, to get to an even number there is an initial set up row. This is skipped when there are already an even number of stitches.
Set Up: *K 5, k2tog, K 6*, repeat *-* to the end of the round. Knit 3 rounds without decreases
- *K 4, k2tog*, repeat *-* to the end of the round, Knit 4 rounds without decreases
- *K 3, k2tog*, repeat *-* to the end of the round. Knit 3 rounds without decreases
- Continue in this pattern of a decrease round followed by as many rounds without decreases as stitches between the decreases until 8 stitches remain
- Break the yarn and pull the tail through the remaining stitches. Weave in the ends.
Now you have a sock. To make a second one, start from the beginning and repeat all the steps.
The Sock Cheat Sheet
You can use my free Sock Chart to adjust the stitch counts for different size of socks based on the yarn you're using.
Please let me know how your socks turn out! You can comment here, or tag me with @FinnishedKnits on Instagram.


1 comment
thank you